
You may import a Journal Entry file that has been saved to either .CSV or .TXT format. The following fields may be included in the import file: GL Account, Source Code, Expense Amount, JE Description, Reference, SL Account, PO Number, PO Account
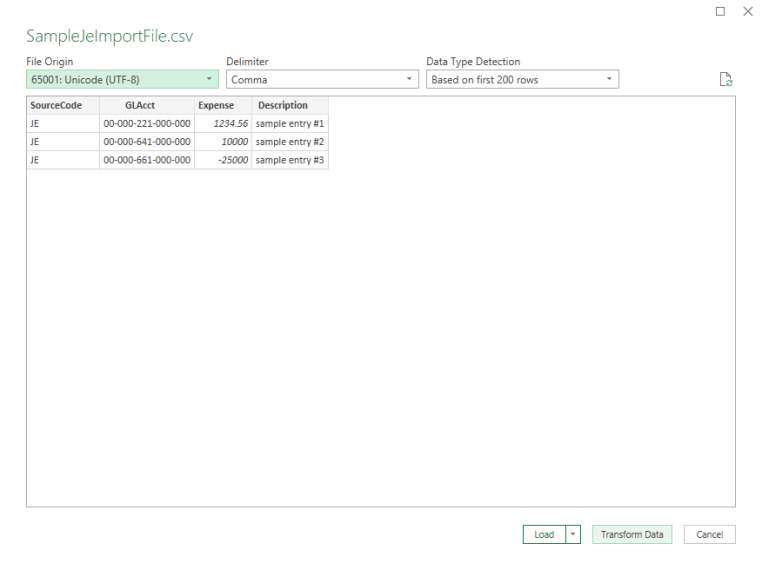
Below is an example of a properly formed import file. Things to note:
-
There must be a header row
-
Header row values may not contain spaces (i.e. 'GLAccount' not 'GL Account')

If you receive an error when importing, see the troubleshooting section below for tips on how to format the data before import.
Import File
-
Click Import in the left-navigation menu
-
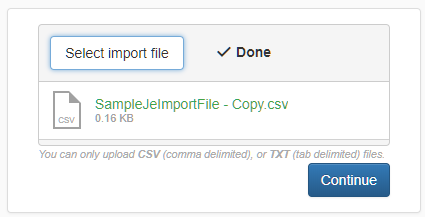
Click Select Import File and choose the .CSV or .TXT file to import
-
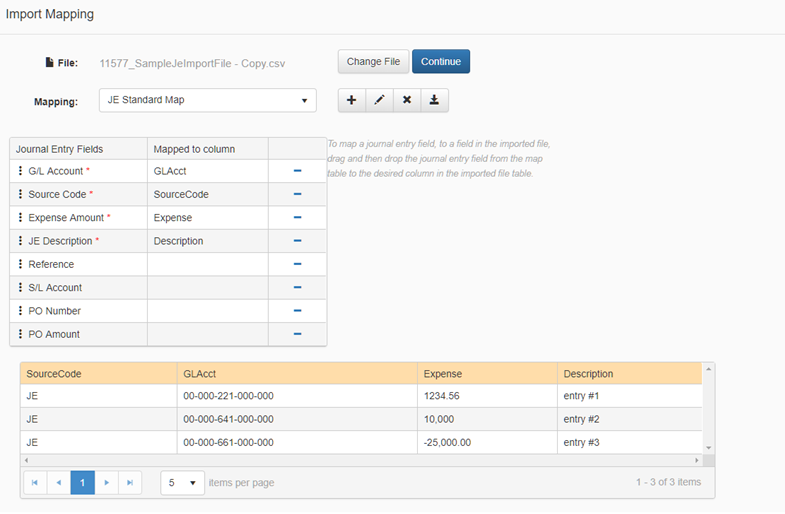
Click Continue, and the Import Mapping page will display. When the file loads it goes through basic validations and if there are any errors when parsing the file an error message is displayed
-
If it is the first import, you will need to create a mapping template. If a mapping template exists, then it will be automatically selected. Note that you can define multiple import templates, as needed.
-
To Add, Edit, Delete, or Save a mapping template, click on the appropriate option in the button bar

-
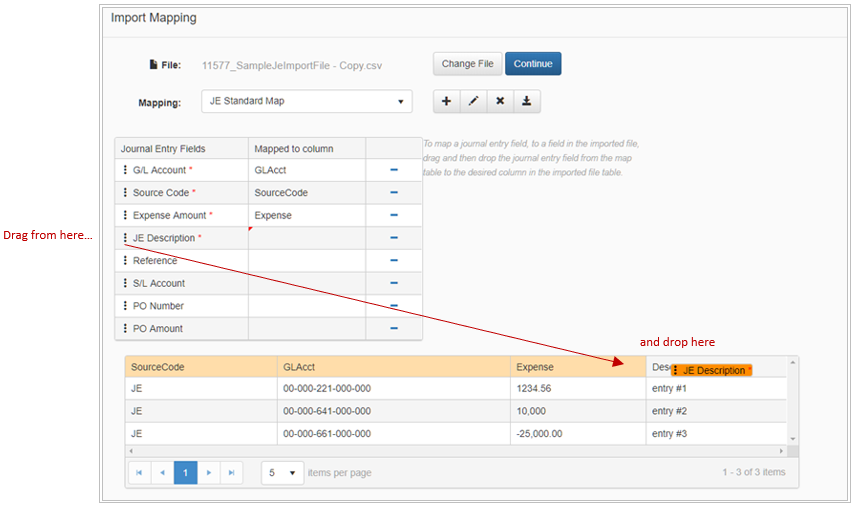
To map a journal entry field to the imported file, drag and then drop the field from the map table to the desired column in the imported file table. Note that the entire contents of the file can be viewed in the bottom grid on the page prior to importing.
-
If you selected the wrong file to import, or received error messages and need to adjust the contents of the file, click Change File, and you will be prompted to select a new file to import
-
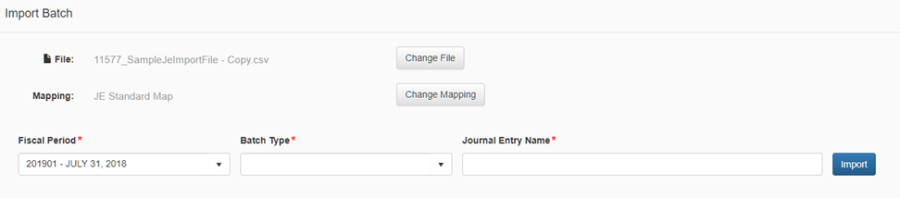
Once satisfied with the imported file and mapping that you have defined (or selected), click Continue
-
Enter the Fiscal Period, the Batch Type and the Journal Entry Name for the imported file
-
Click Import
-
The Journal Entry Modify page will display for you to review and make any additional updates (as needed)
-
Click Save, without Posting, and the journal entry will save, and will display on the main Journal Entry page in the saved entries summary grid.
-
Click Close to return to the main Journal Entry page
-
Click Post Entry to process the Journal Entry
-
Click Save as Template, if you would like to save the structure of this entry as a new template
Troubleshooting Issues - Tips for updating a .csv file in Excel
If you receive an error when importing your file, it may be because the format of the data has been altered, this can occur if you opened a .csv file in Excel the traditional way i.e. double click or file/open, Excel automatically trims leading zeroes off numeric fields. This will cause issues with at least the General Ledger and the Sub Ledger field, and possibly other numeric fields.
Example GL: 00000711000001 – Opening the file in Excel the traditional way trims the leading zeroes, example GL: 711000001.
The issue is if you click save now, the leading zeroes are gone. To avoid this issue, do the following:
-
Open Excel, and select a blank workbook
-
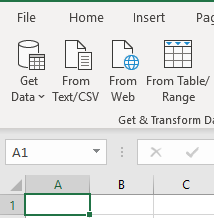
Click the Data tab
-
Click "From Text/CSV"
-
Browse for and Select the file and then click "Import"
-
In the Preview window click "Transform Data"
-
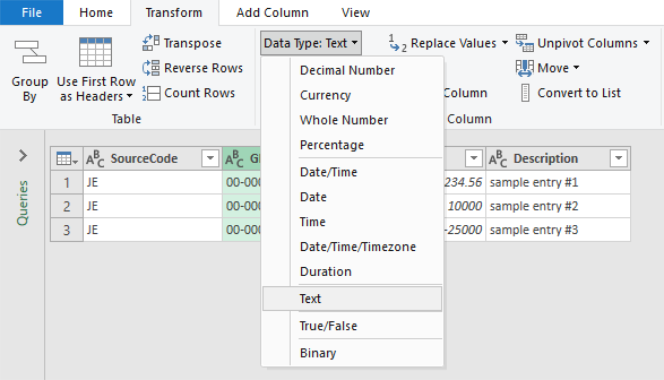
Highlight the GL column and then click the Transform tab
-
Then select the data type "Text"
-
Repeat this process for any columns where the data is not correctly displayed (if you see scientific notation for example, where you expect to see a numeric value). Most commonly, if the file is saved incorrectly and opened/updated in Excel the General Ledger and Sub Ledger fields would be affected.
-
When all affected columns are updated click "File" and select "Close & Load"

-
In Excel, choose Save as to save the updated file to a new name – be sure to save as a .csv file (i.e. MyNewFile.csv)
-
Import into Journal Entry
Additional Note: your version of excel might use a slightly different process, but the concept is the same.
Use the video below to review the Import process for Journal Entries