
Before rolling out the forms, you should appoint an internal tester to run through testing the employee expense form and routing for various employees.
The employee assigned to test routing will need access to the following menus:
|
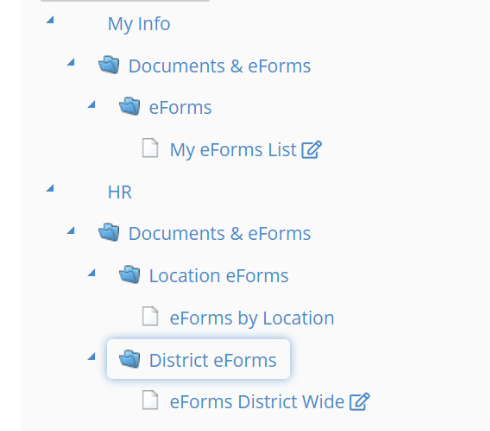
My eForms List: |
Will allow you to view your own forms |
|
eForms by Location: |
Will give you a list of locations and allows you to search for employees (School Secretary can have access to this) |
|
eForms District Wide: |
Will allow you to search for an employee and view their forms. You can also create and submit forms on the employee's behalf. (Only a district office employee who needs access to all employees would have access to this) |
Once you create a task you can track it to see where it is in the routing sequence.
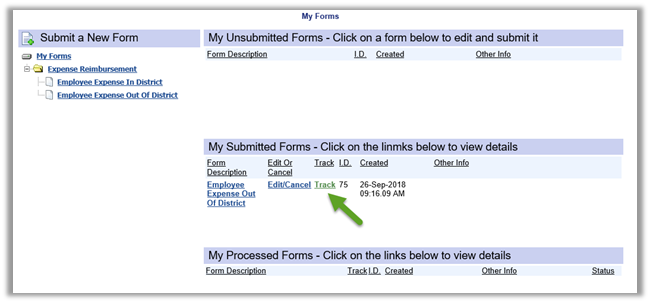
A new window will open – it will show you who is the pending authorizer.

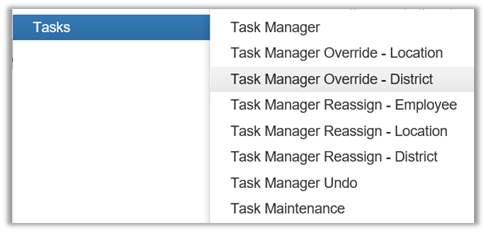
Based on this tracking report – you can then go into the Task Manager Override as seen below to view that approvers Task Manager.
Task Manager: Will allow approvers to view their own pending tasks.
Task Manager Override – District: Will allow you to sign in as another approver to complete their pending tasks. (There is an audit trail with this – it will show that you signed in as this approver and approved or denied any Expense Claim Requests)
Task Manager Override – District: Will then prompt you for an employee number. You can also click on the binoculars to search by name.
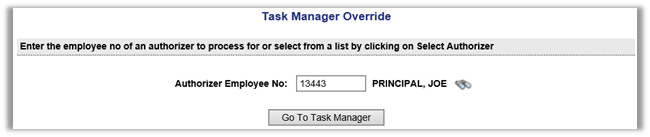
Click on 'Go To Task Manager'
Click on the Task ID which will take you into the task approval section.

The approval section will allow you to look at the entirety of the forms along with the attached receipts. Scroll down to the bottom to complete the approval section. The Coding Section of the approval is assigned to the Approval Employee. They will have the ability to assign the GL's for the Expense.
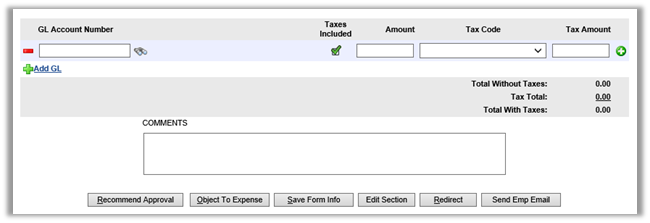
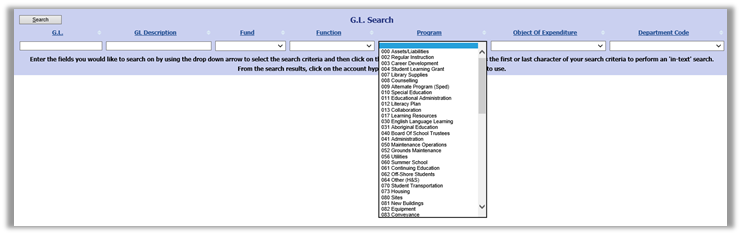
Clicking on the binoculars will allow you to search on GL's based on a drop down feature for each sequence of your GL.
You can also add multiple GL's to the coding section by clicking on 
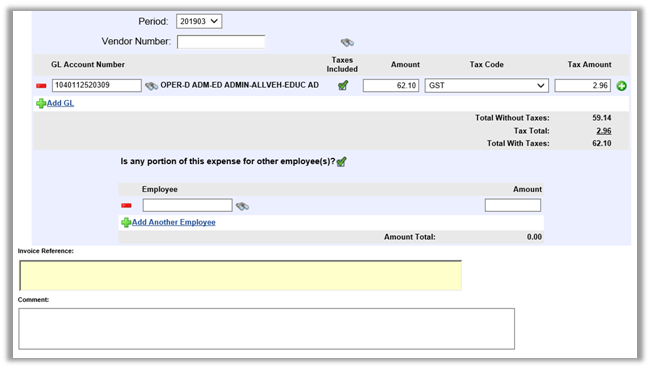
The Accounts Payable will be able to assign if a portion of the expense is for another employee, assign the vendors and create the invoice reference.
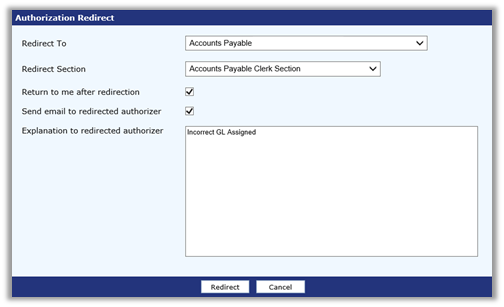
A task can also be routed to a different approver if necessary. The person redirecting the task can check the box to 'Return to me after redirection' (If not checked, it will skip this person).
They can also check the box to 'send email to redirected authorizer' with additional details as to why it was redirected.
Continue testing each authorizer until you get to the Accounts Payable Section.
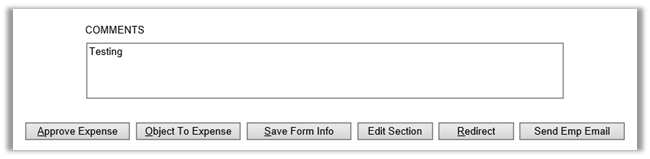
The Accounts Payable section allows you to make any necessary changes to the coding section. Once the 'Approve Expense' has been selected, the expense invoice will automatically be created in atrieveFinance. The system will create an EEW Batch. This batch can be viewed in atrieveFinance under Balancing & Audit>Batch Finalization.
You can also inquire on the vendor or invoice to review back to the submission.
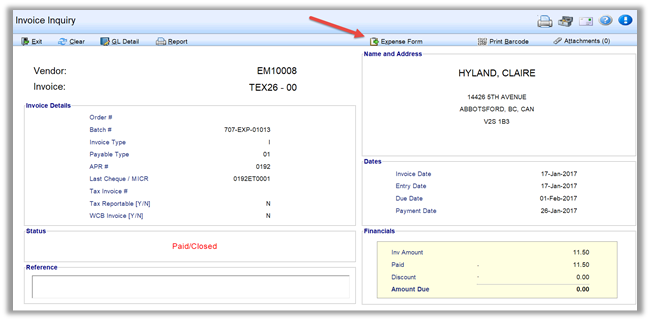
By clicking on 'Expense Form' at the top of the atrieve screen it will open a new window and allow you access to view the attached receipts, form, GL Assignments and Comments.