
Options using Google / Gmail
-
ClientID and Client secret using iMap - requires user interaction
-
Client and Client secret using gmail api - requires user interaction
-
Service Account - No user interaction required, but requires a paid GSuite account to be able to delegate the permissions needed to use this option
In this article, I’ll show you how to set up Google OAuth for your personal Gmail account and how you can set up Google OAuth for BDM (Bulk Document Management)
-
Login to your Google Console (https://console.developers.google.com/) using your email account you are trying to setup
2. After you are logged in, click on Create Project at the top right

3. Create a project named “Bulk Document Management” and click Create
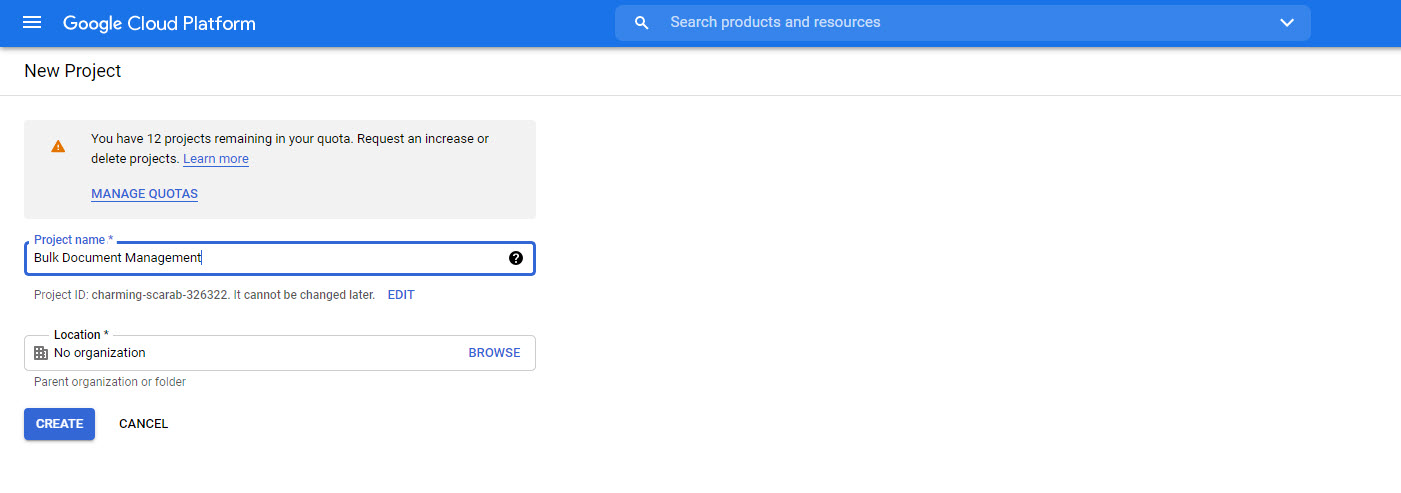
4. If this is your only project it will be automatically selected otherwise select it from the dropdown
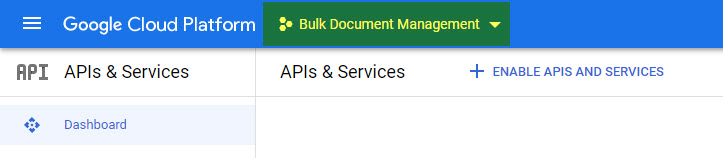
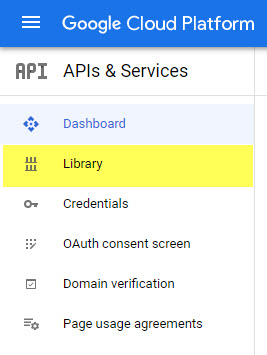
5. After choosing the Bulk Document Management Project, Click on Library Tab on the left sidebar.
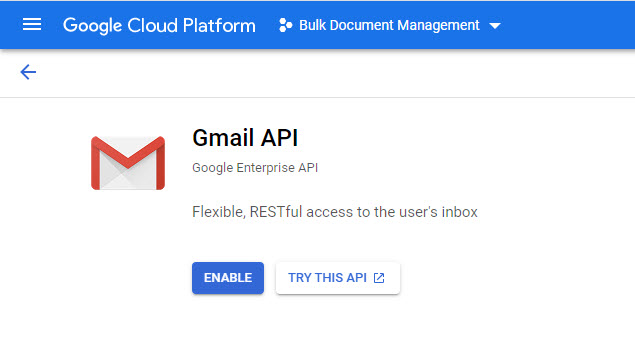
6. Then type “Gmail” into the search box that appears and click on the title “Gmail Api” that resulted from the search.

7. Click the Enable Button
8. Now go to the Configure Consent Screen which is under the Credentials tab, then fill in the required details and Save and Continue.
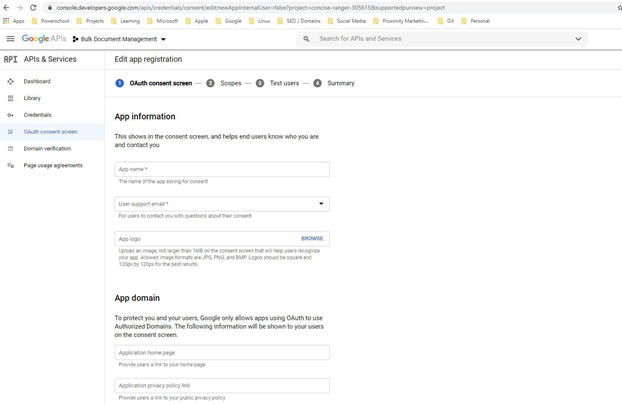
9. Click Publish App and Confirm
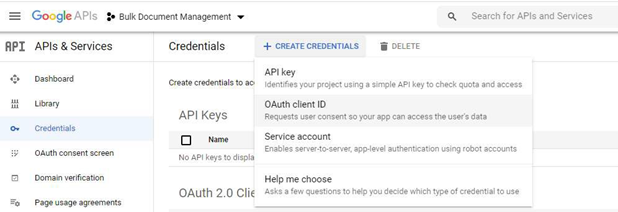
10. After that is done click on the Credentials Tab, then click OAuth Client ID from the Create Credentials link at the top of the page
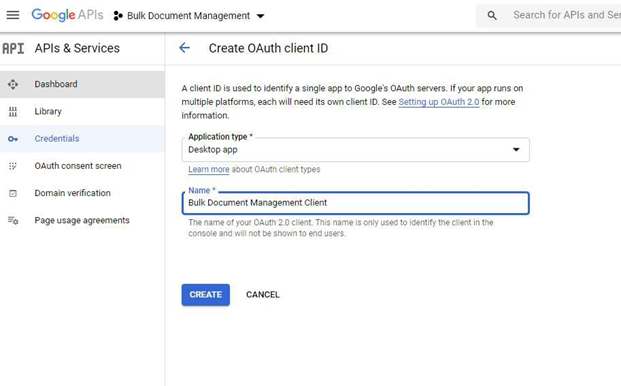
11. Choose Desktop App and type in a name for the OAuth Client and click Create
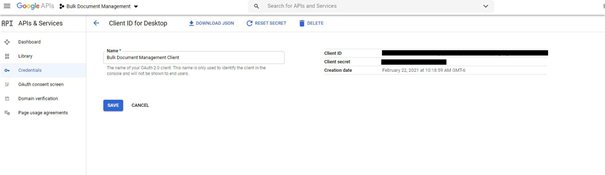
12. Copy the Client Id, and Client Secret and have that ready for Atrieve Support
Options using Microsoft
-
ClientID and Client secret using iMap
-
Client and Client secret using graph api
-
Client credentials using graph api
-
Get access without a user - https://docs.microsoft.com/en-us/graph/auth-v2-service?context=graph%2Fapi%2F1.0&view=graph-rest-1.0
-
Get message - https://docs.microsoft.com/en-us/graph/api/message-get?view=graph-rest-1.0&tabs=csharp
-
Read Email From Mailbox Folders Using Microsoft Graph API - https://www.c-sharpcorner.com/article/read-email-from-mailbox-folders-using-microsoft-graph-api/
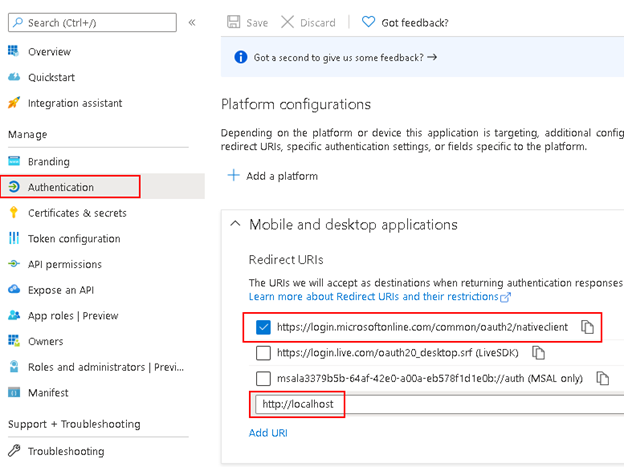
First you need to register your application in Azure Portal.
Here’s a detailed guide how to do that:
Quickstart: Register an app in the Microsoft identity platform
Remember to add authentication entries (localhost is needed for .net core):
Then you need to apply correct API permissions and grant the admin consent for your domain.
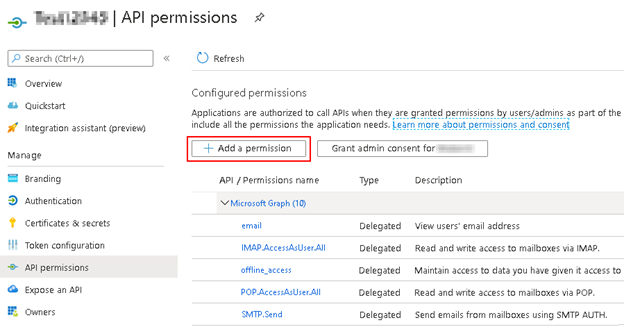
In the API permissions / Add a permission wizard, select Microsoft Graph and then Delegated permissions to find the following permission scopes listed:
-
offline_access
-
email
-
IMAP.AccessAsUser.All
-
POP.AccessAsUser.All
-
SMTP.Send
Remember to grant admin consent.
As this is fairly new feature for Exchange/Office365, here are some useful links:
Authenticate an IMAP, POP or SMTP connection using OAuth
IMAP auth in Office 365 using OAuth2
https://stackoverflow.com/questions/43473858/connect-to-outlook-office-365-imap-using-oauth2