To create a requisition for non-catalogue items, navigate to Finance > Requisitions & Purchasing > Requisitions (New)
Navigate to the section titled Requisition Non-Catalogue Items, located at the bottom of the Create Requisition page, and either select the vendor to work with, or select the vendor not known hyperlink
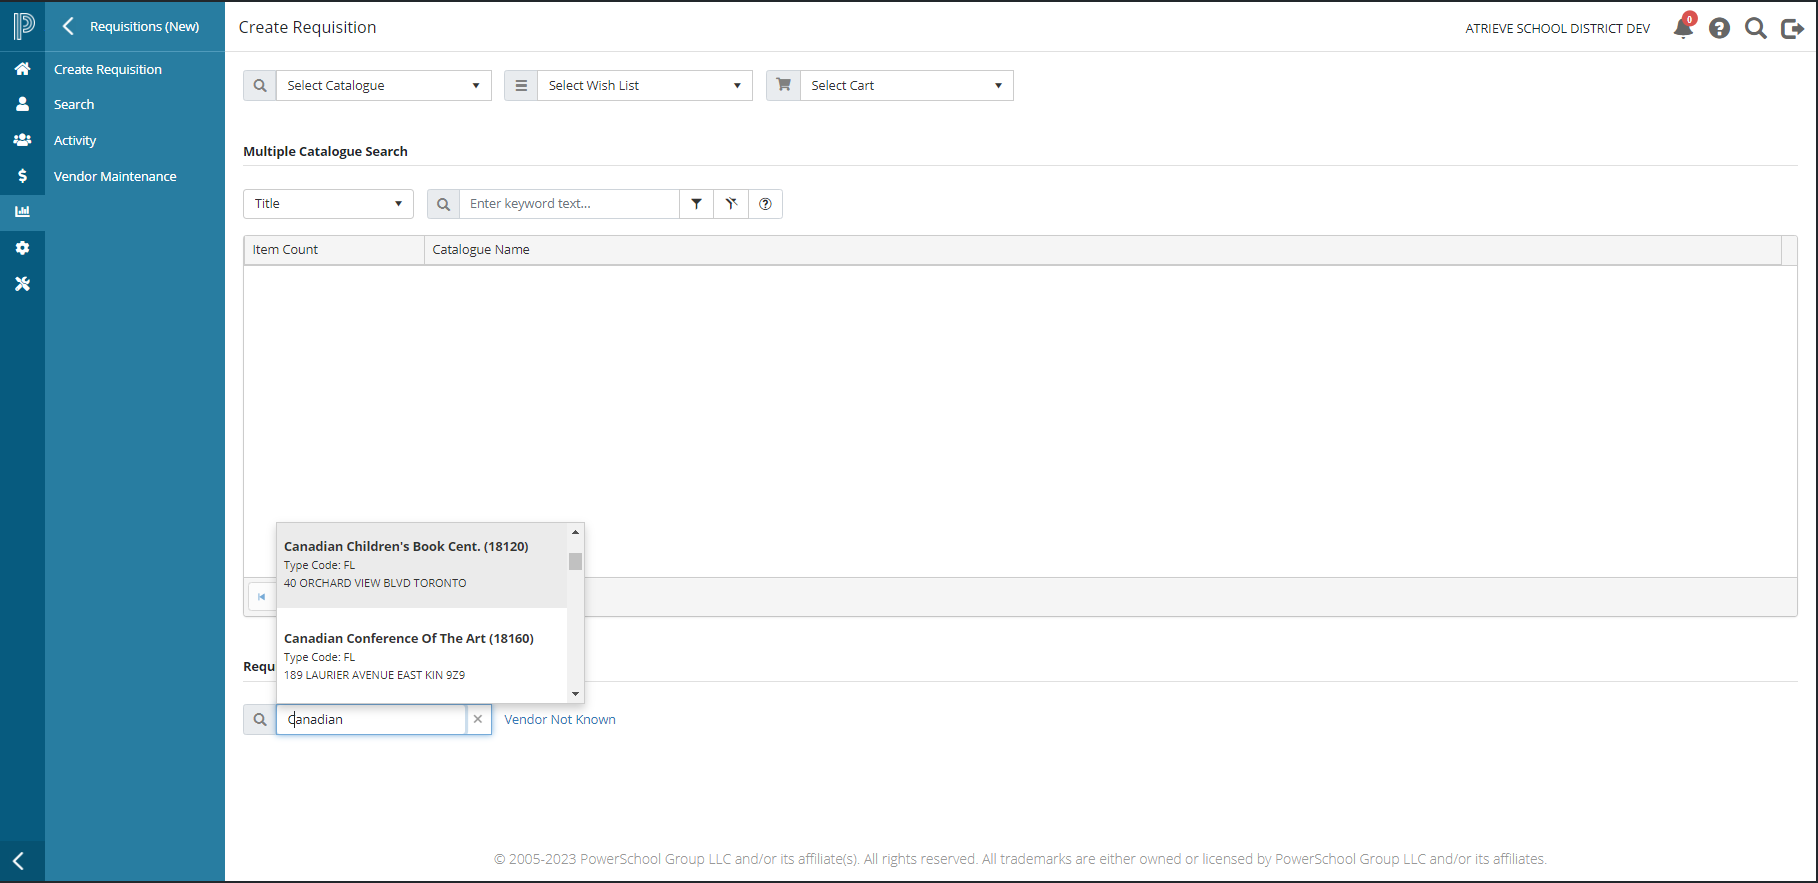
Vendor Search - enter a portion of the vendor name and select the vendor from the list to create the requisition for
-
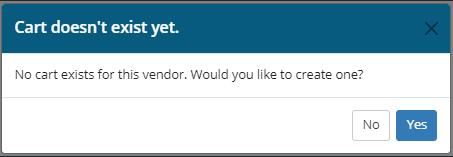
If a cart already exists for the selected vendor, you will be taken directly to the Shopping Cart page, where previously selected items will be listed
-
If a cart does not exist then you will receive a popup message, asking you to confirm if you would like to create a new cart for the vendor
-
Select Yes, to continue to the Shopping Cart page
-
Select No, to close the popup and return focus to the Create Requisition page
-
Vendor Not Known - select this option if the vendor is not included in the vendor database. Once selected you will be directed to the shopping cart for the unknown vendor
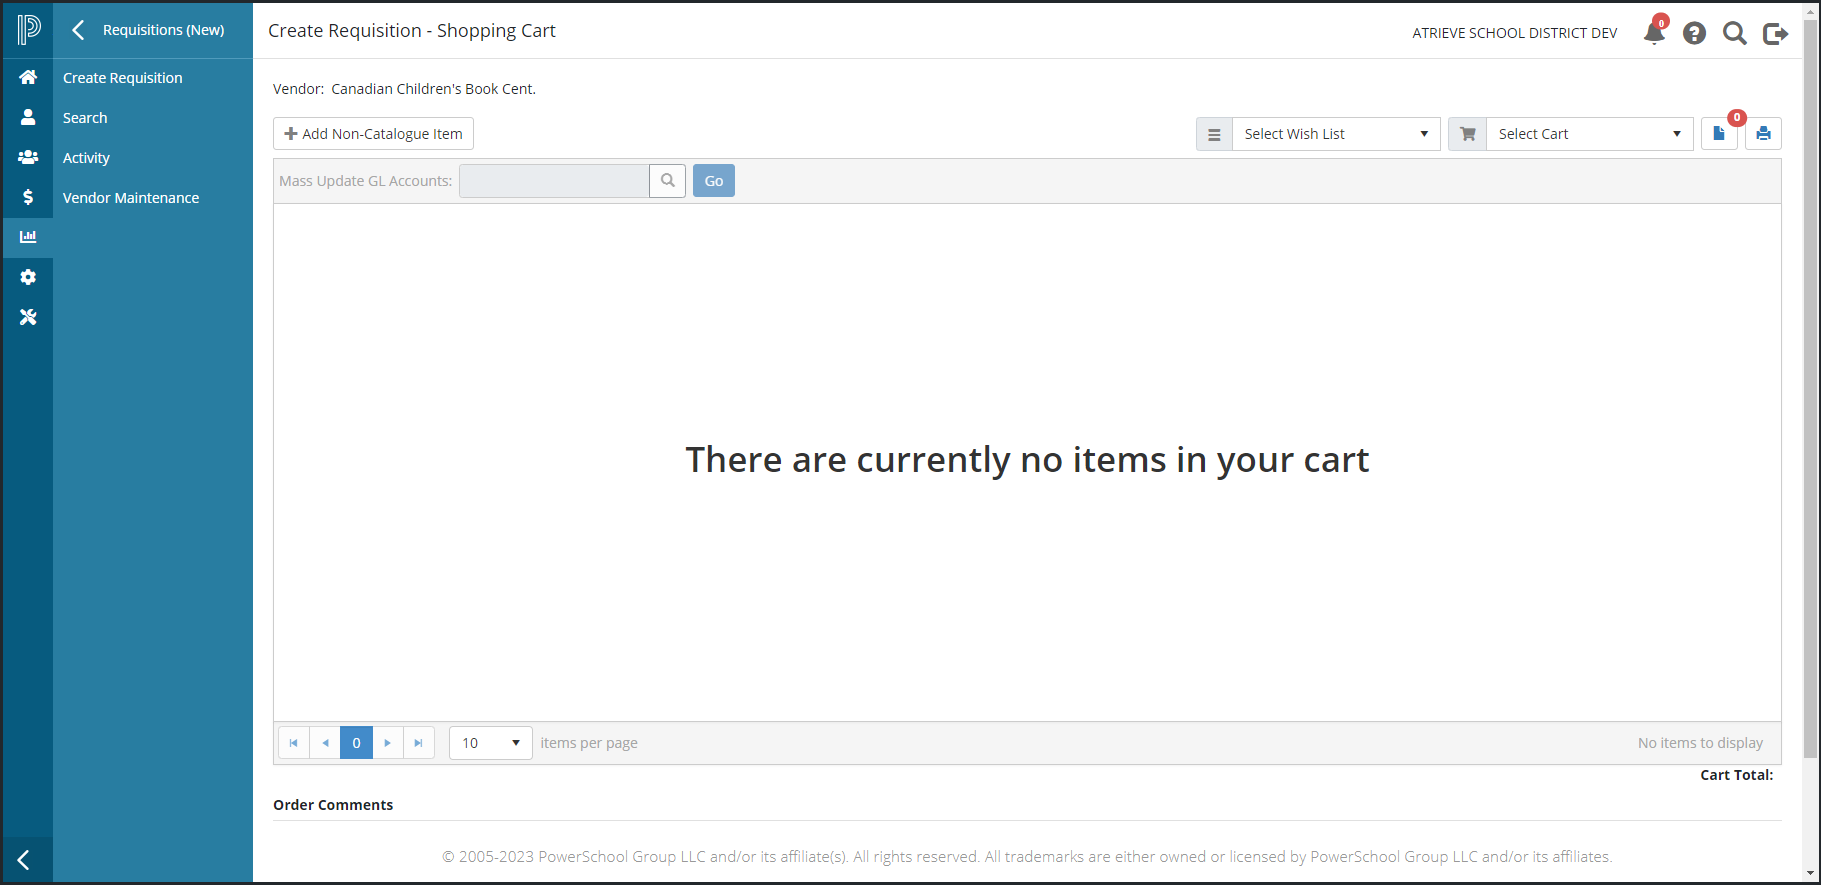
To add items to the empty cart, click on the Add Non-Catalogue Item button, and the Add Non-Catalogue popup will open
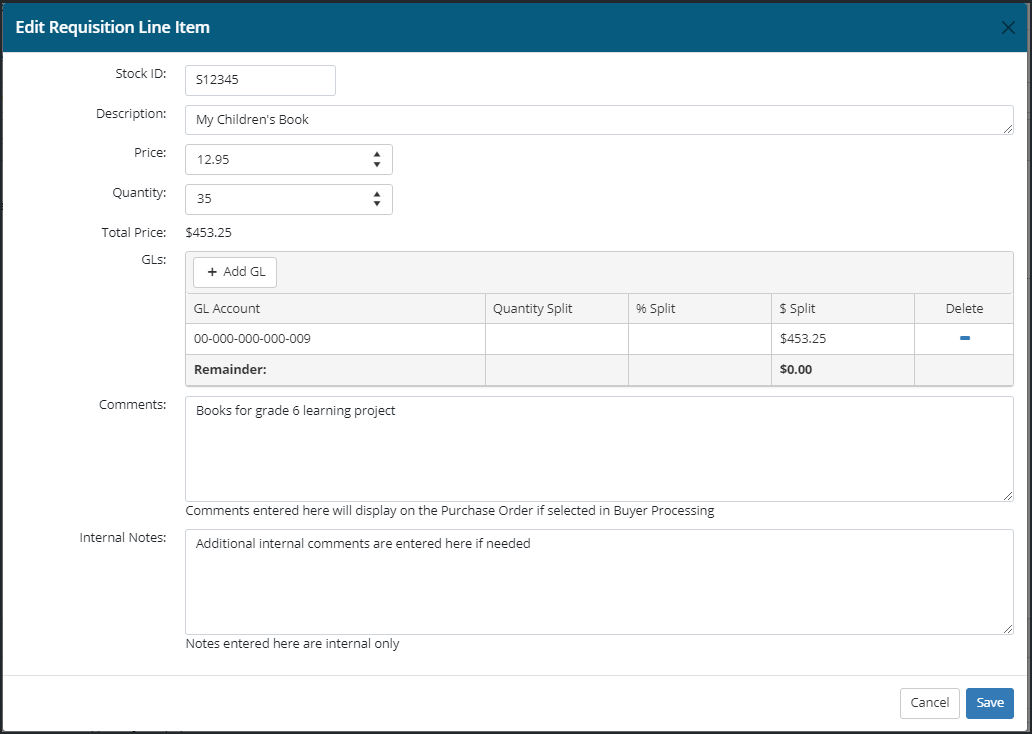
Enter the following information:
-
Stock ID
-
Description
-
Price
-
Quantity
-
GL Account (one or more as required)
-
optionally, if more than one GL is selected you can split that transaction by number of items or you can split by a percentage of the total dollar amount
-
to remove a GL line, click the minus sign at the end of the corresponding row
-
enter the GL account number directly in the text field, or if the account is not known perform a search by clicking the search icon (magnifying glass) located to the right of the text field
-
-
Comments - enter comments that you would like the buyer to see while in Buyer Processing on the purchase order
-
Internal Notes - enter any additional internal notes for the requisition
-
Once all information is entered click Save to return to the Shopping Cart where the new line item will display. Continuing adding more line items to the requisition as needed.
-
Or, Click Cancel to return to the Shopping Cart page, the line item will not be added.
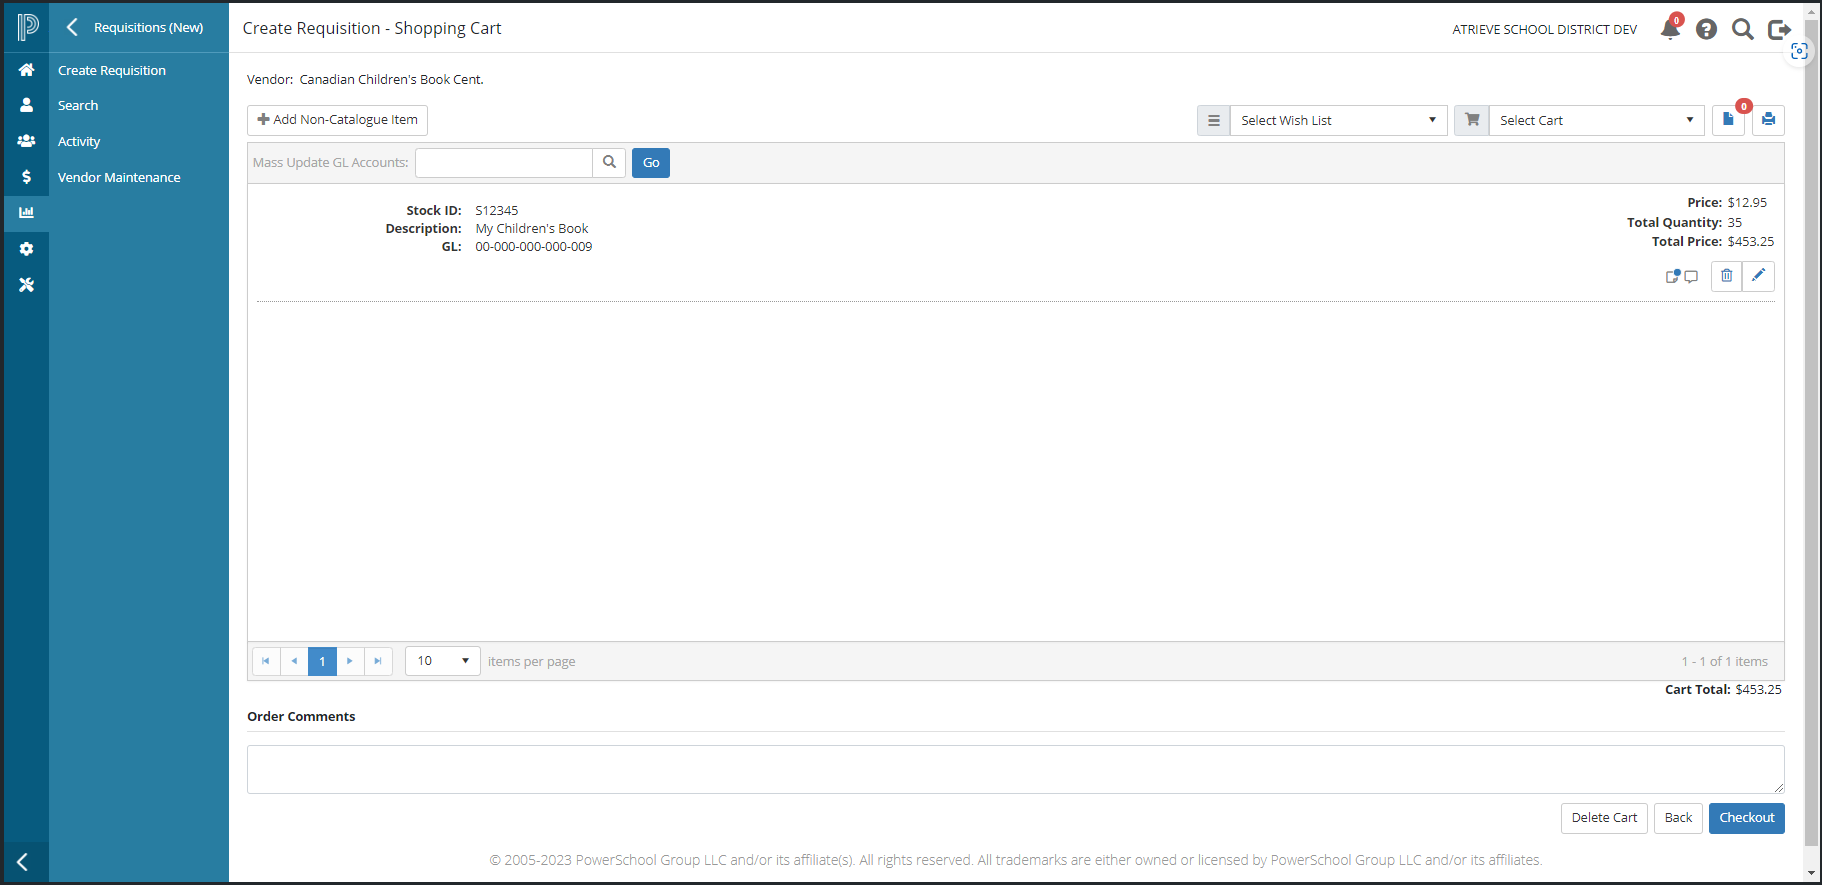
To Edit a requisition line item click the edit pencil icon for that item and the Edit Requisition Line Item popup will open where you can make changes.
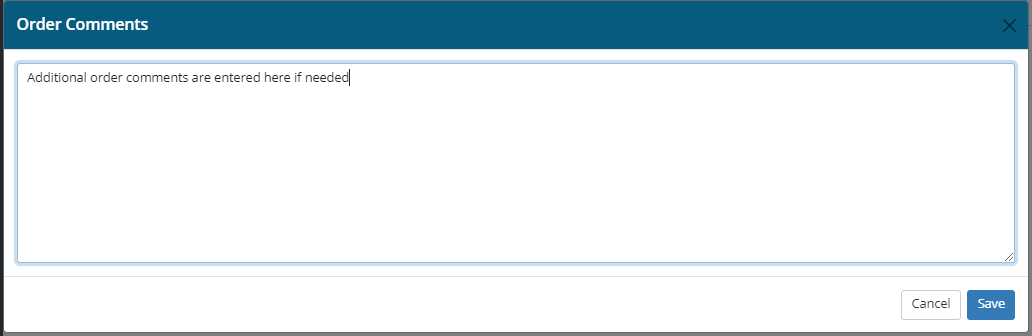
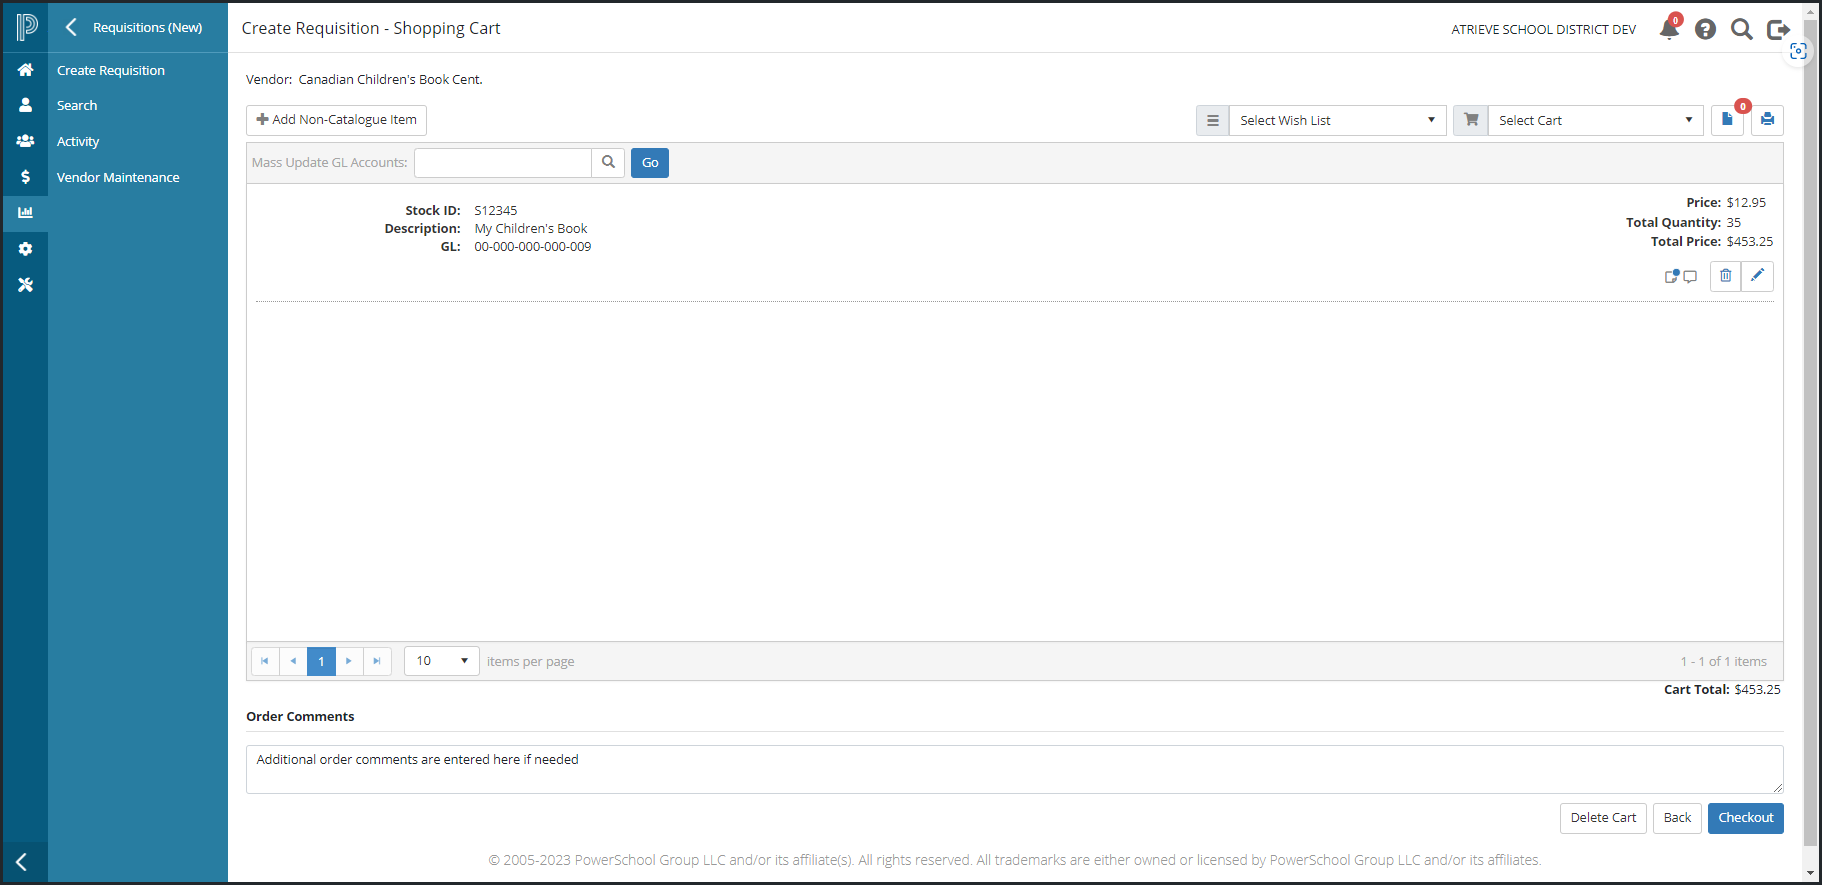
Note that you can add additional Order Comments by clicking in the Order Comments field. Clicking in the text box will open a popup where you may add your comments. Click Save to save the comment and close the popup, returning you to the Shopping Cart page, or click Cancel to return to the Shopping Cart page without saving the comment.
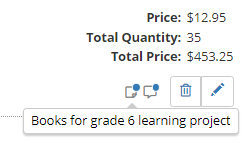
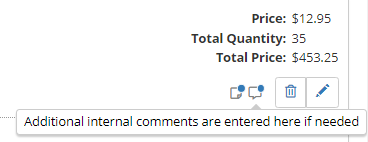
When Comments for Buyer Processing, or Internal Notes are entered on the Edit Requisition Line Item popup, you can quickly view those comments on the Shopping Cart page by hovering your mouse over the appropriate icon.
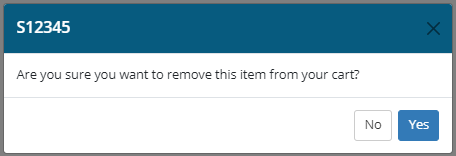
To Remove an item from the Shopping Cart select the delete icon (trash can) for that item. A confirmation message will be displayed. Click Yes, to remove the item, or click Cancel to disregard and return to the Shopping Cart.
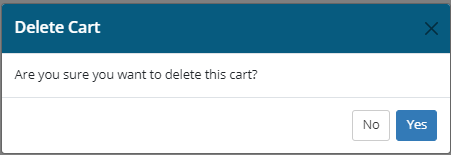
To delete an entire cart, click the Delete Cart button located at the bottom right of the page. A confirmation message will be displayed. Click Yes, to delete the cart, or click Cancel to disregard and return to the Shopping Cart page.
To proceed with the creation of the requisition click the Checkout button located at the bottom right of the page and the Shipping Details page will display.
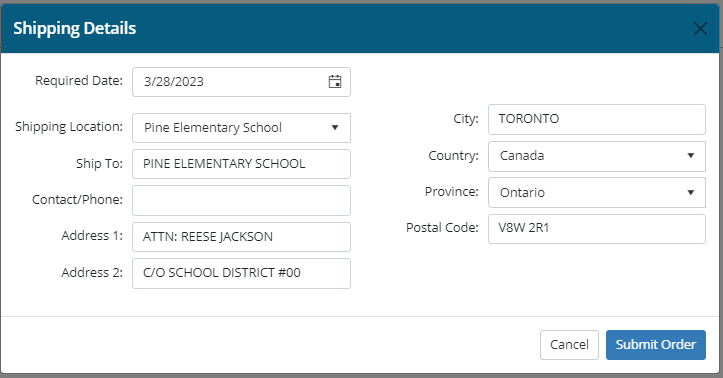
Fill in the following fields:
-
Required Date - defaults to ‘today’s’ date - update as appropriate
-
Select the Shipping Location, and the additional information (as defined in your location database) will automatically populate in the remaining fields. Note that all remaining fields are editable and can be modified before submitting the order.
-
Ship To
-
Contact/Phone
-
Address 1
-
Address 2
-
City
-
Country
-
Province
-
Postal Code
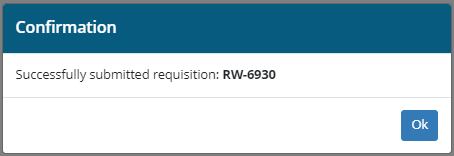
If you would like to return to the Shopping Cart page without submitting the order, click the Cancel button, or if you are ready to proceed click the Submit Order button to submit the requisition for further approval and processing. A confirmation message will display indicating that the requisition was successfully submitted as well as the new requisition number. Click OK on the confirmation message to return to the Create Requisition page.